Crud API with React Admin Lolo
To demonstrate how simple it can be to use the CRUD API Library Function in Lolo, we will be using react-admin and react-json-schema to build a data-driven frontend application.
You can of course build your own frontend to test your API, or use it in any way, but here we will be using this repo that the amazing team at Lolo has built to build an admin dashboard within a few minutes.
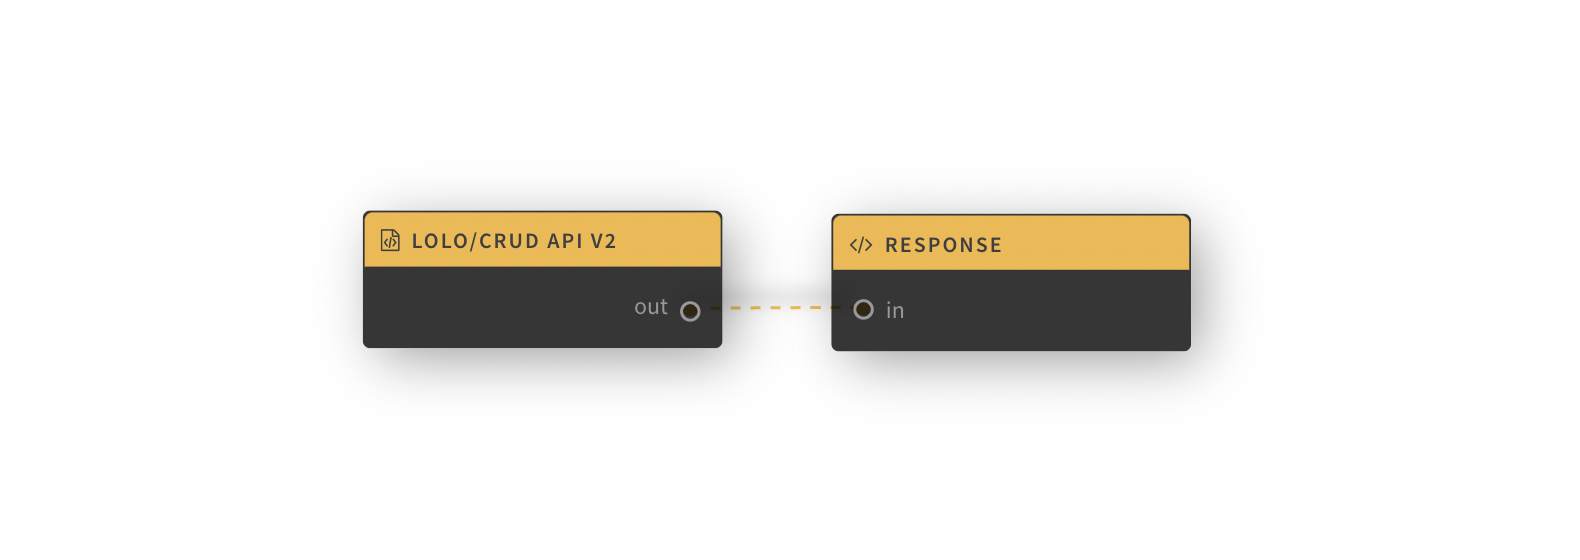
But, essentially what we are making here is a CRUD API while demonstrating the potential of the state value store in Lolo. I.e. we are not connecting an external database to this API.
Create an Application
You can name this application whatever you'd like but we went ahead and named it CRUD API with React-Admin. Now open the Functions Gallery to the left of the graph and look for a Library Function called lolo/CRUD API v2. Go ahead and click this to add it to the graph.
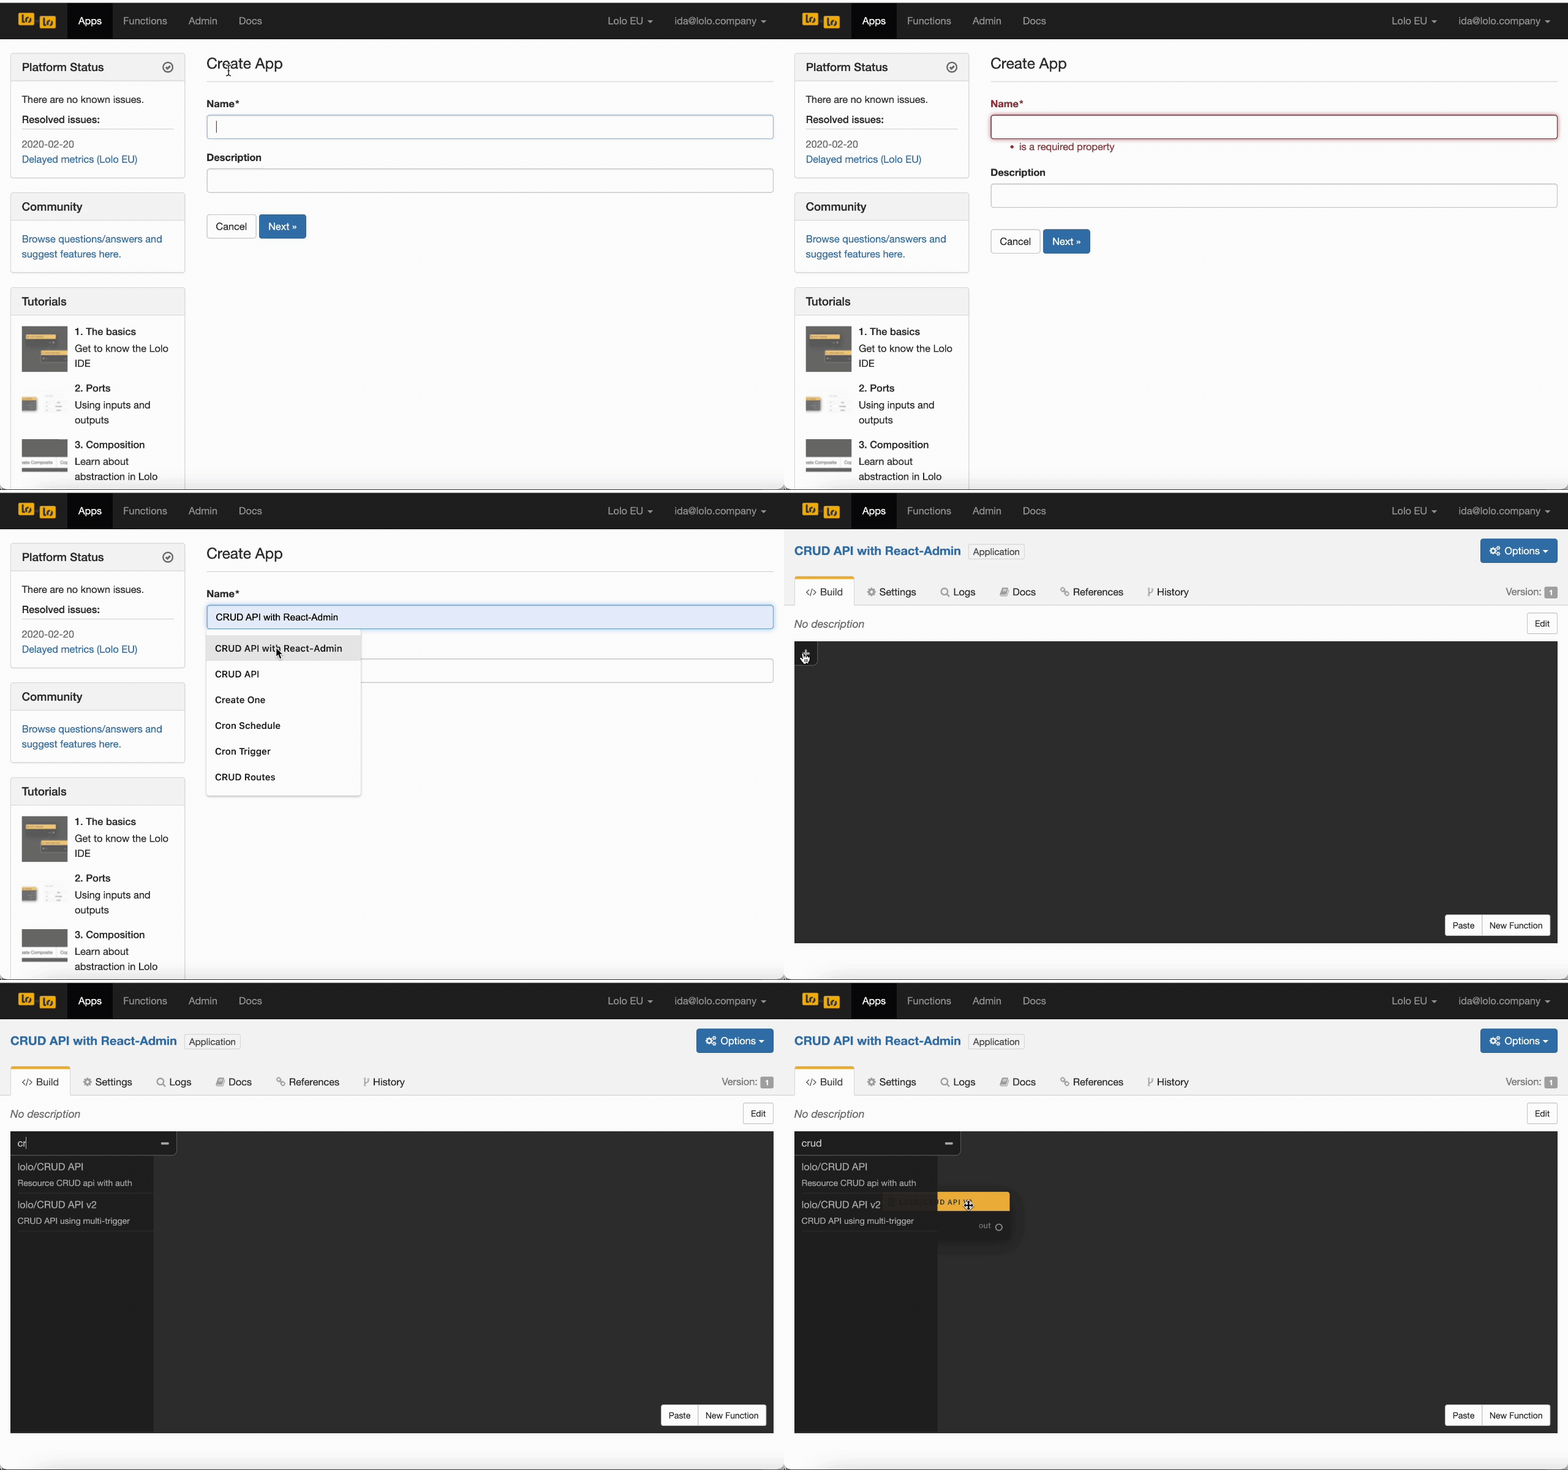
There are two CRUD APIs in there, you are looking for version 2 called lolo/CRUD API v2. These two are built differently, so we can't expect the same results if we choose version 1.
CRUD Function Settings
We need to add some things to this CRUD Function for it to work properly. So double click it, navigate to the tab called Parameters, choose an api endpoint under Resource, we went with 'user'. Next you need to add a schema.
{
  "type": "object",
  "properties": {
    "name": {
      "type": "string",
      "title": "Name"
    },
    "gender": {
      "type": "string",
      "title": "Gender",
      "enum": [
        "Female",
        "Male",
        "Other"
      ]
    },
    "dateOfBirth": {
      "type": "string",
      "title": "Born at",
      "format": "date"
    }
  },
  "required": [
    "name",
    "gender",
    "dateOfBirth"
  ]
}
We have to set a schema to define the structure needed to query and insert data. You can insert the JSON above unless you want to create your own.
Look at the clip below to see us do this.
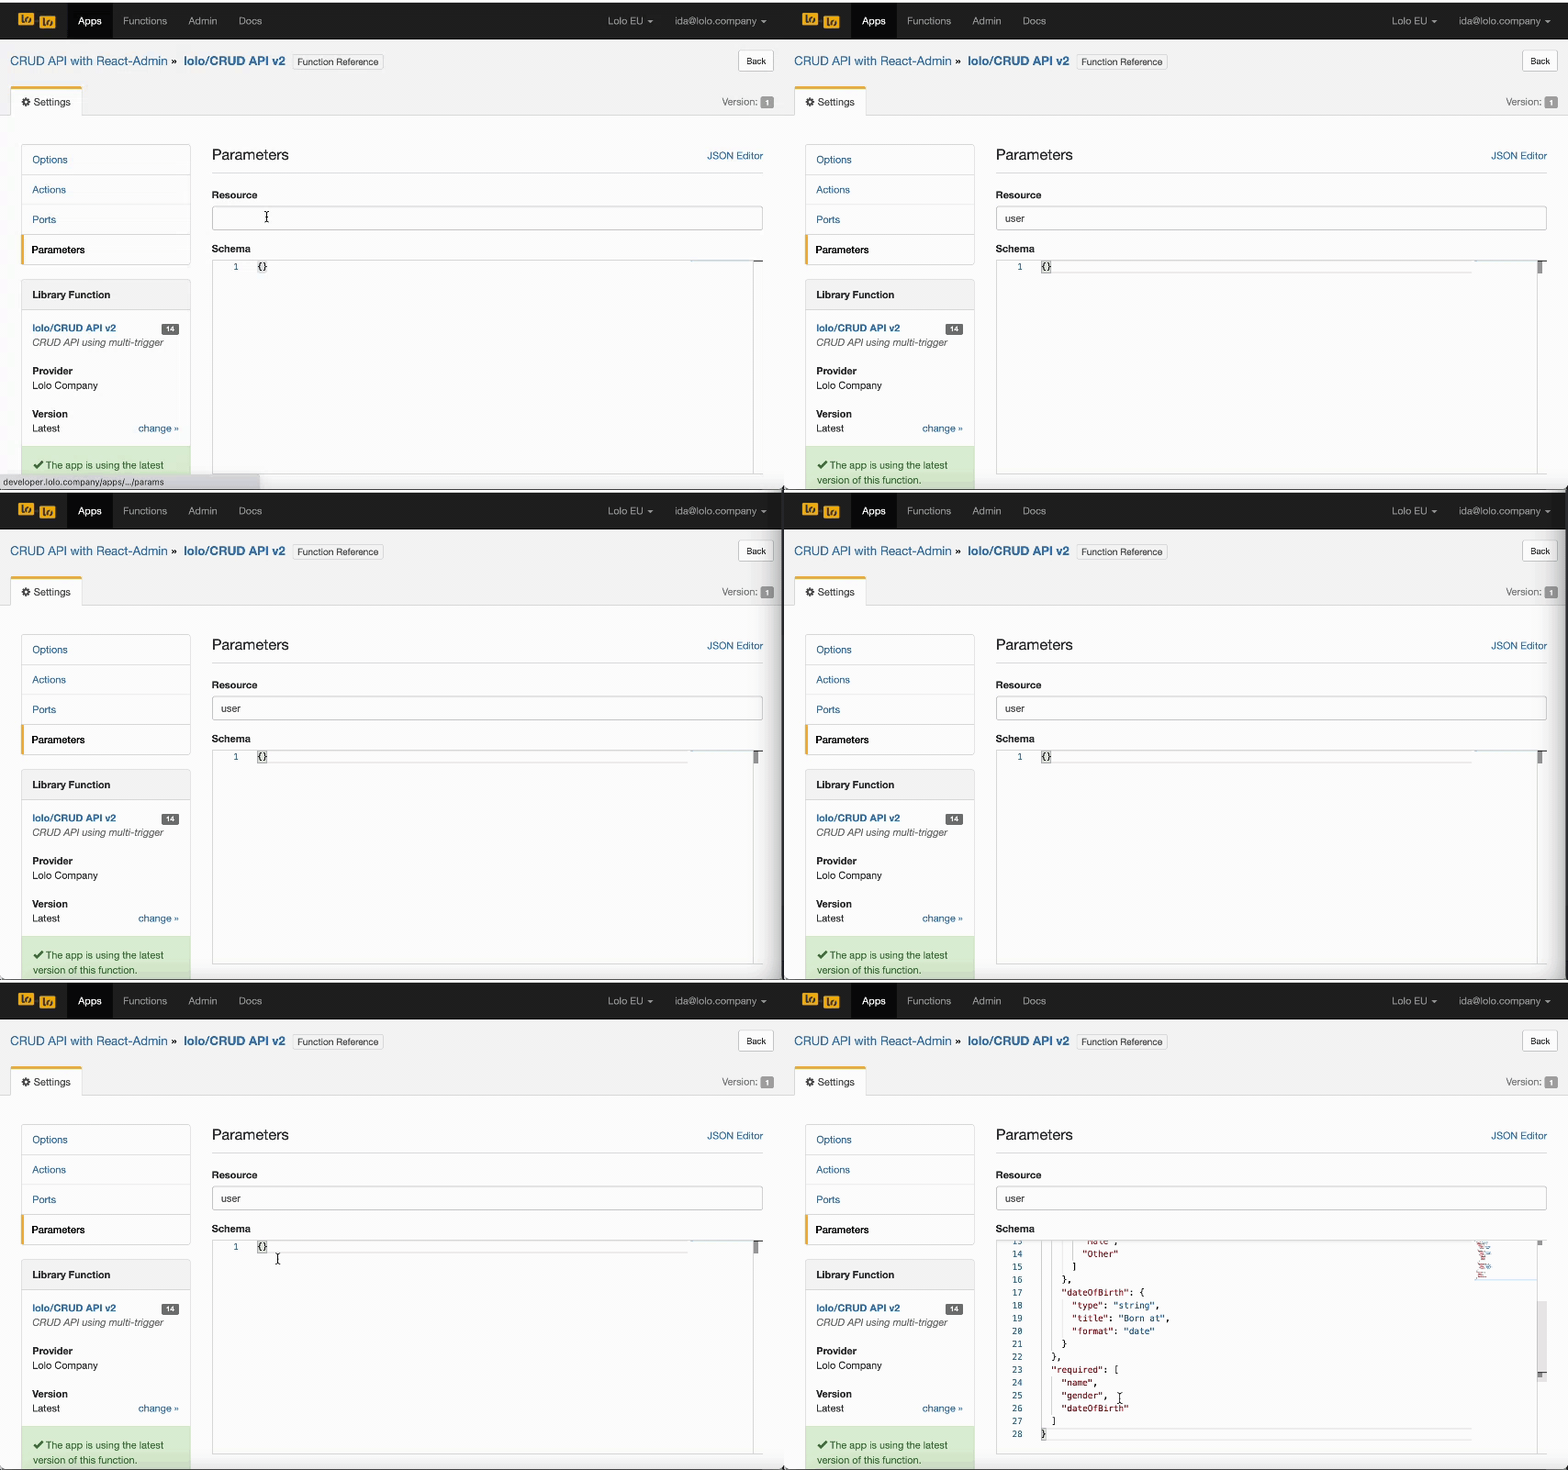
If you scroll down a bit on the Parameter's tab, you have the option to set which actions you need (i.e. Create, Read, Update and so on). By default they are all chosen. Please ignore the UserPoolId and clientId that you'll find at the end, you do not need to fill these out.
Add a Response
Go back to the graph and add in an inline function, this one will send a response. Go ahead and paste in this code in there. We need to structure the response like so as the CRUD API Library Function is waiting on this event trigger called 'response' to send a HTTP response back when triggered.
exports.handler = async(ev, ctx) => {
  const { emit } = ctx;

  emit('response', ev);
};
We also renamed it Response and removed the out port, but we aren't showing this in the clip below. In any case, renaming it nor removing a port won't matter. It will work regardless.
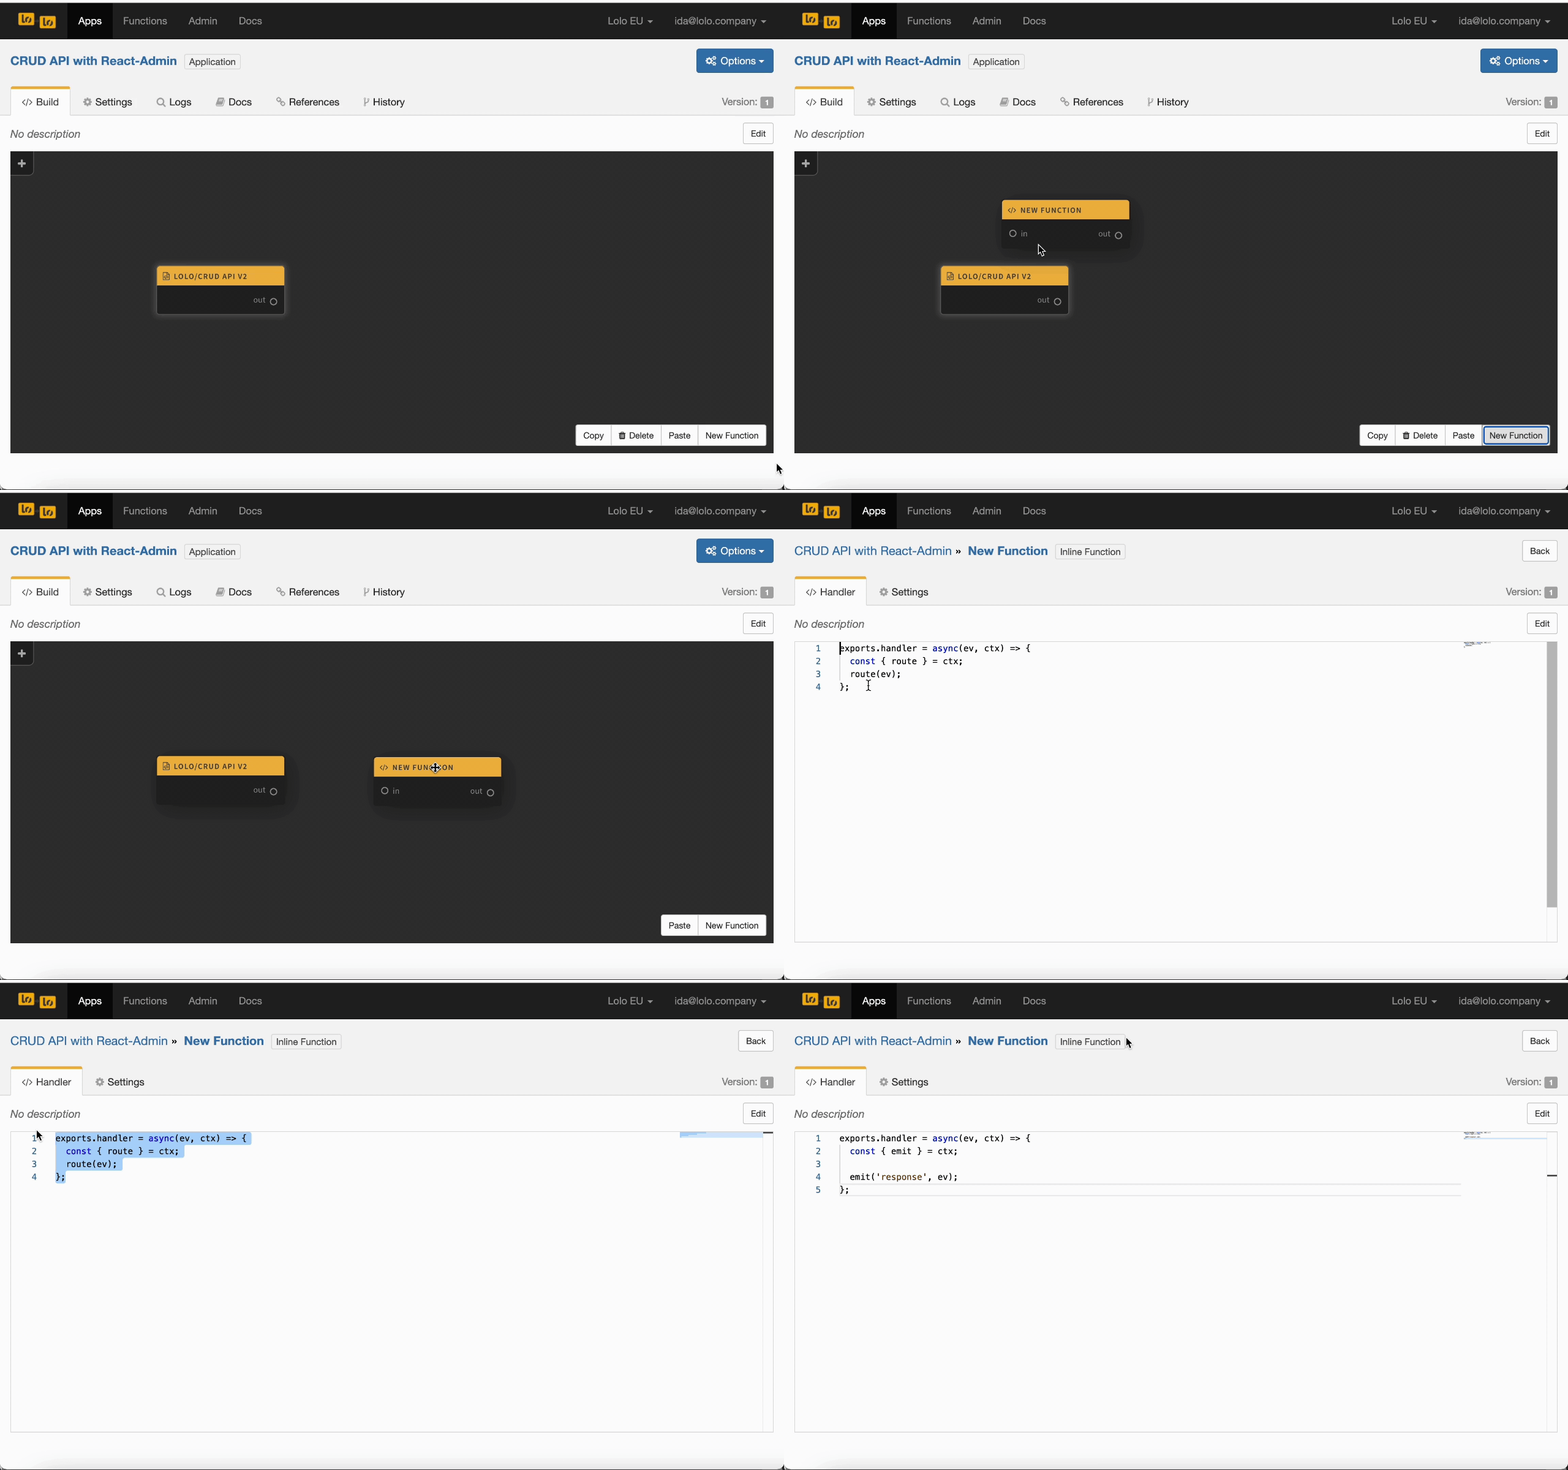
Link the two nodes together when you're done to trigger the response code when the CRUD API has been hit. Go ahead and deploy the application as well. We're done with this part.
Create an API Key
Go to Admin and navigate to API Keys. Create a read + write key and name it whatever you want. Copy the key as you won't be able to open this one again.
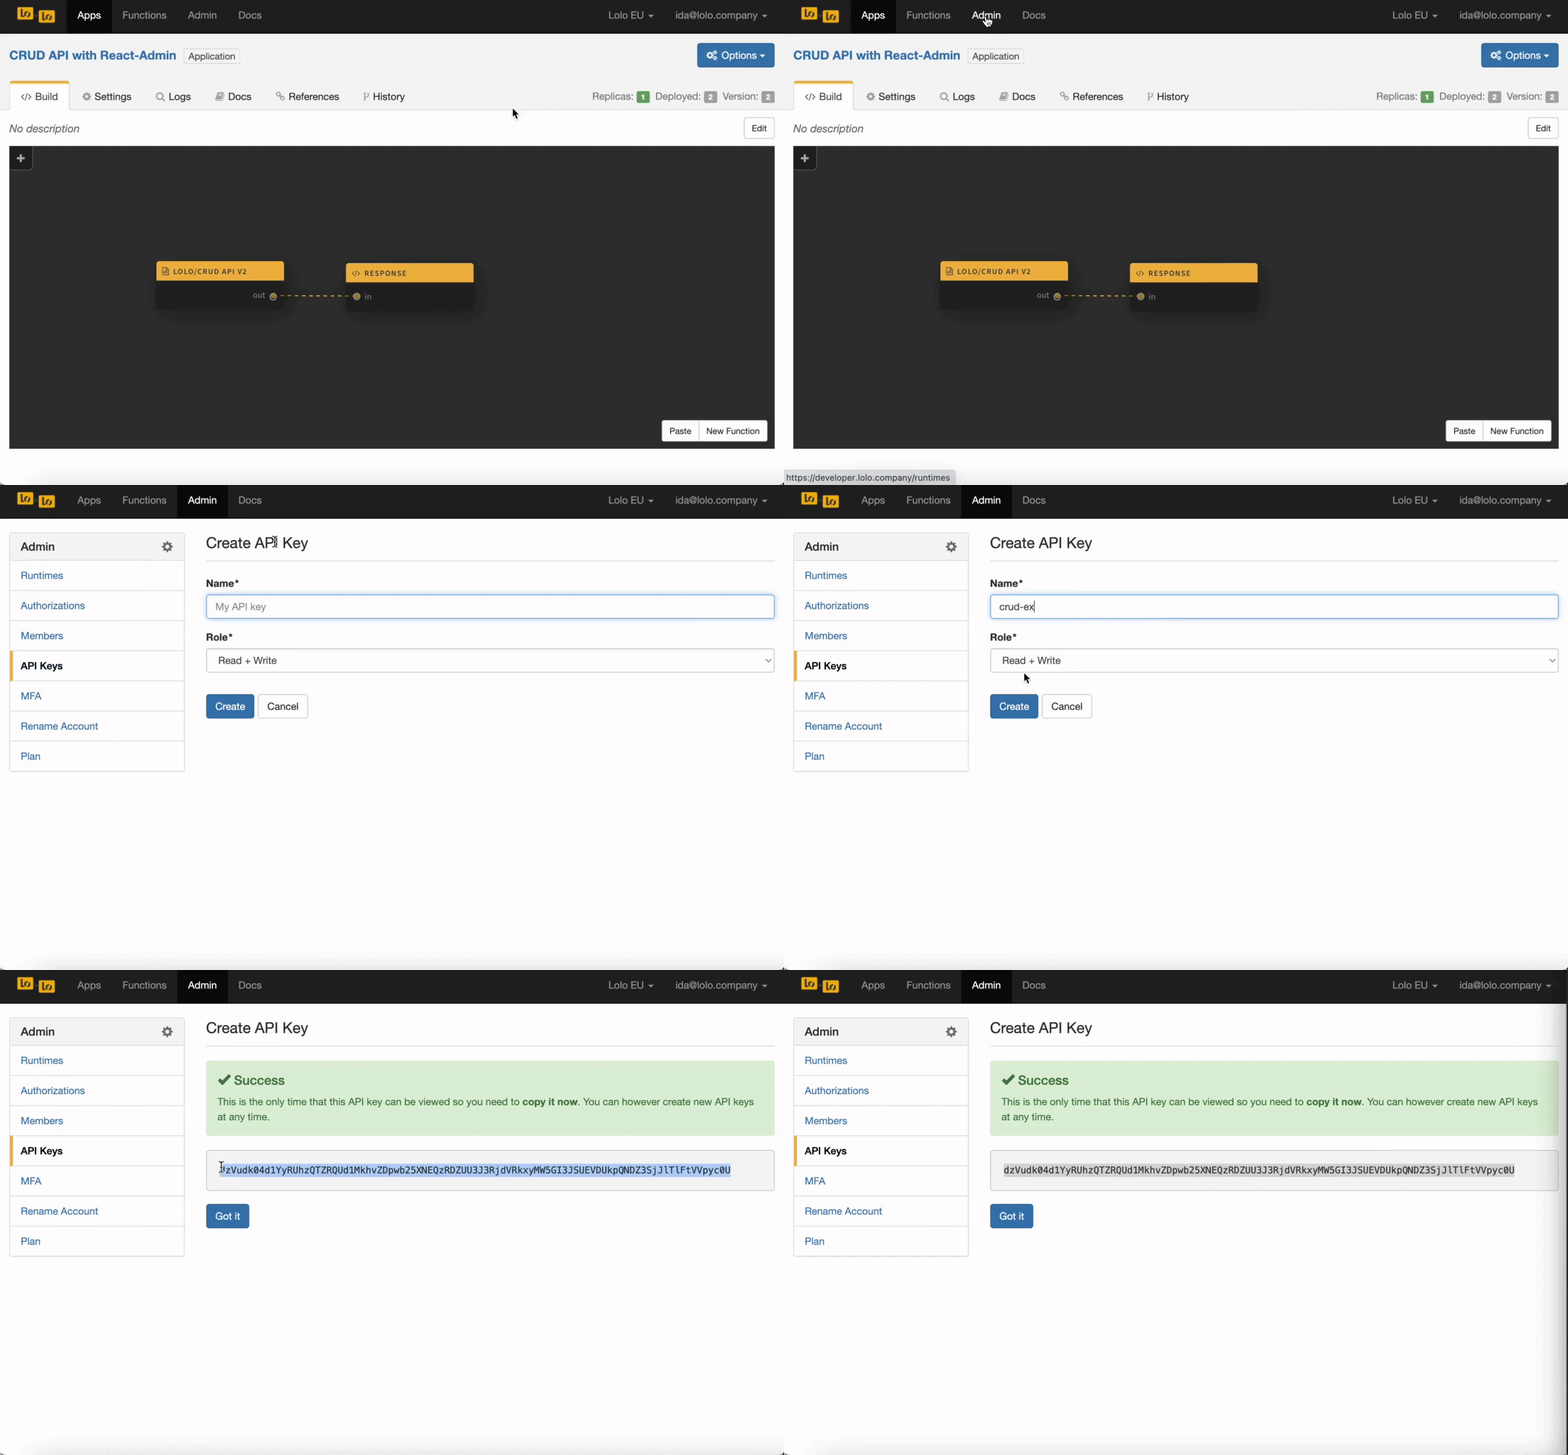
We'll be using this to send and retrieve data from your newly created API. Go back to the Application. It make take quite awhile for this Application to be ready to use but look for 'Listen to port 4000' in the Logs and try to reload a few times until you see it.
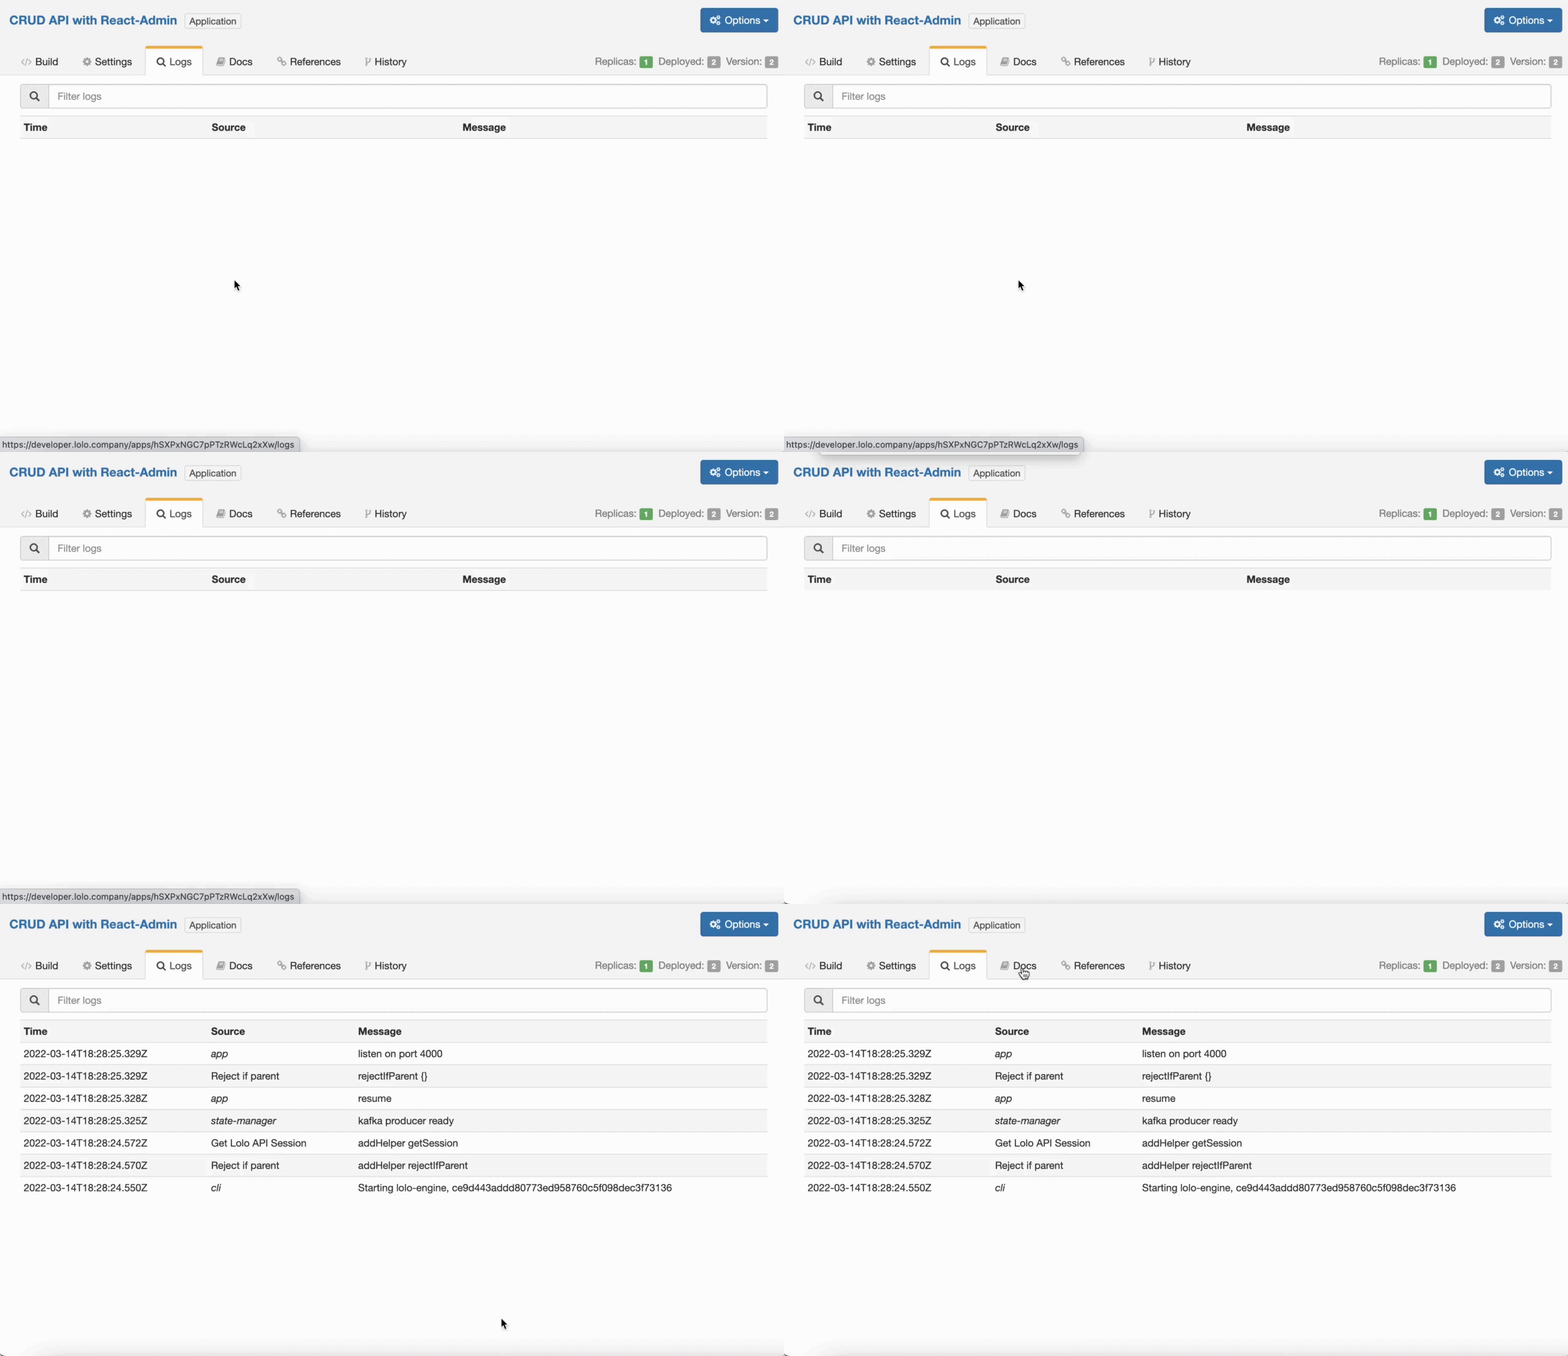
Test the API
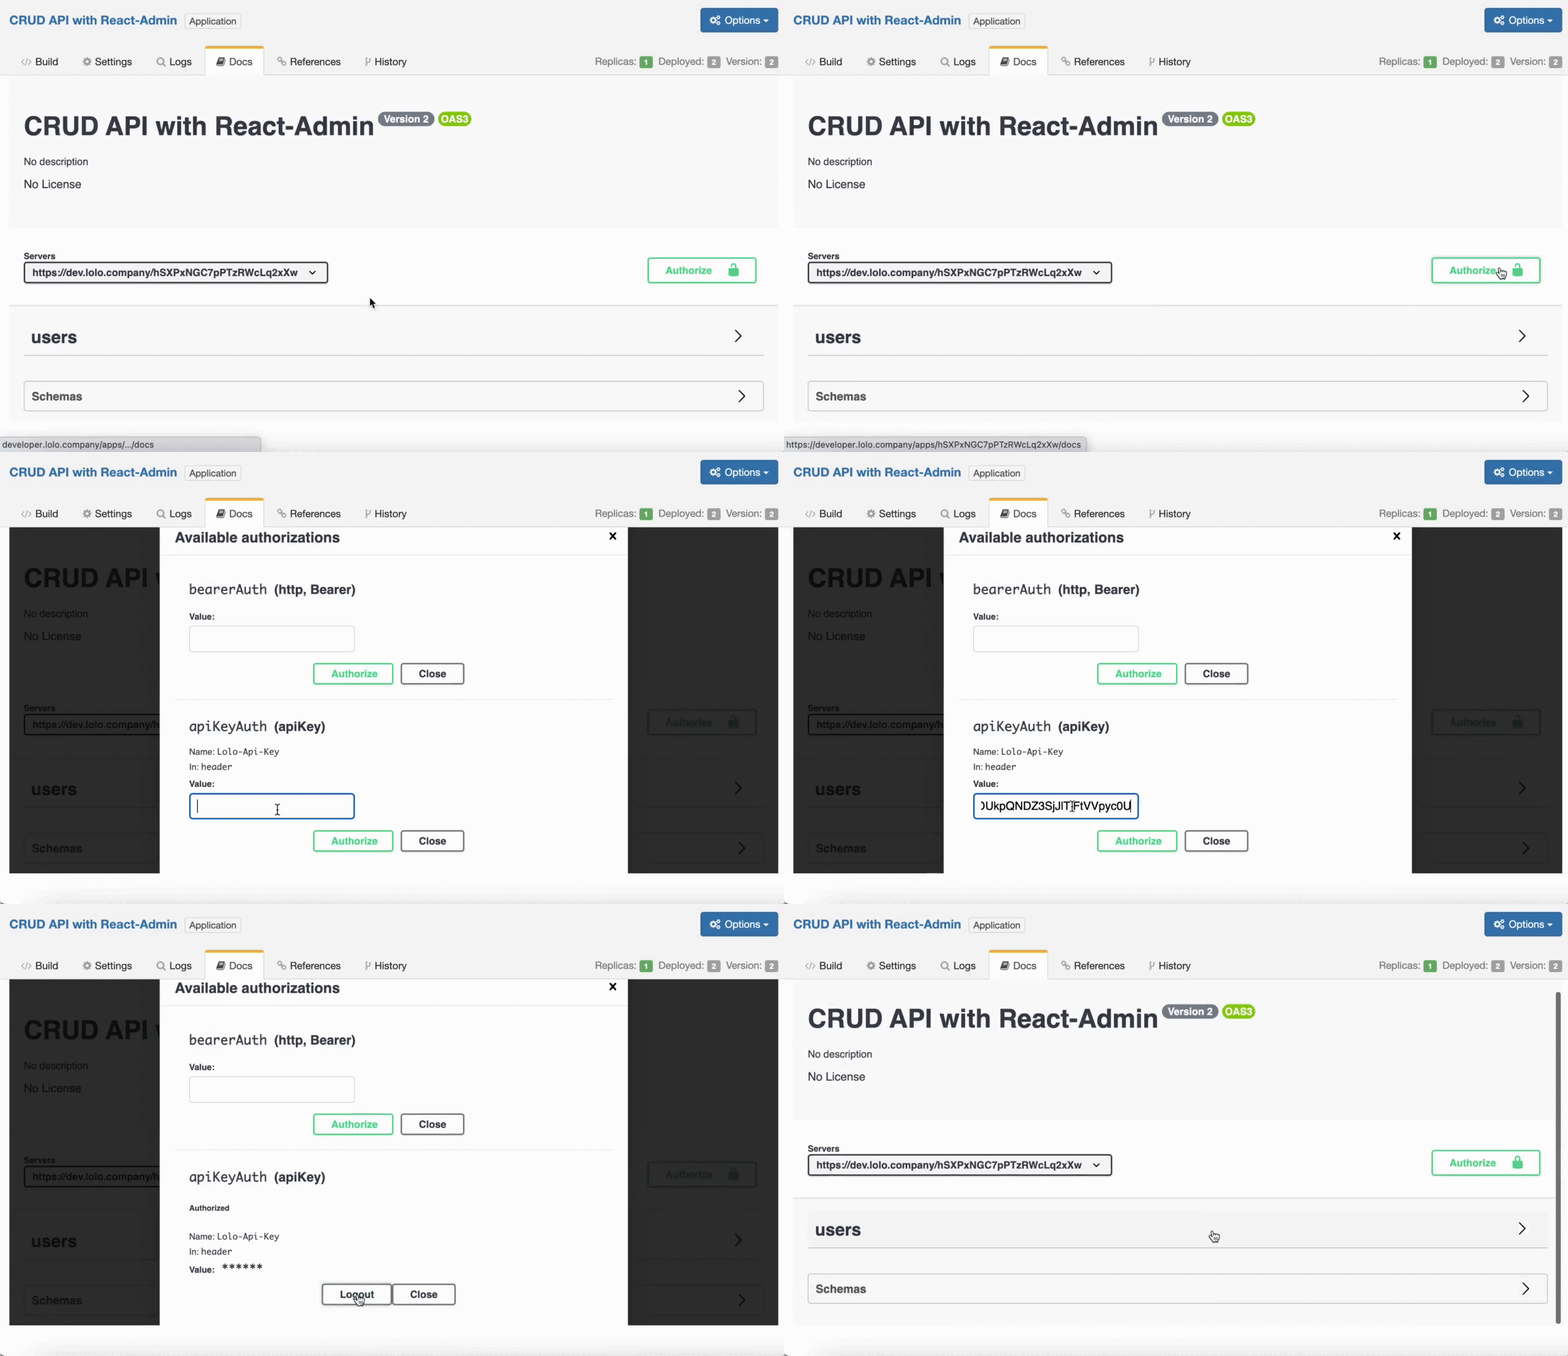
When you're sure the Application is running navigate to the Docs tab. Here we'll be able to see the api endpoints the CRUD created for us. To test these out we need to use the API key though so go ahead and click the Authorize button to the right and paste it in under apiKeyAuth.
Now we can get and post data to this API directly. This is not a mock environment so whatever you insert here you are storing within the Application. Navigate to Users and Post. Press the button called Try it out and amend the data you are sending if you want a real user to be inserted.
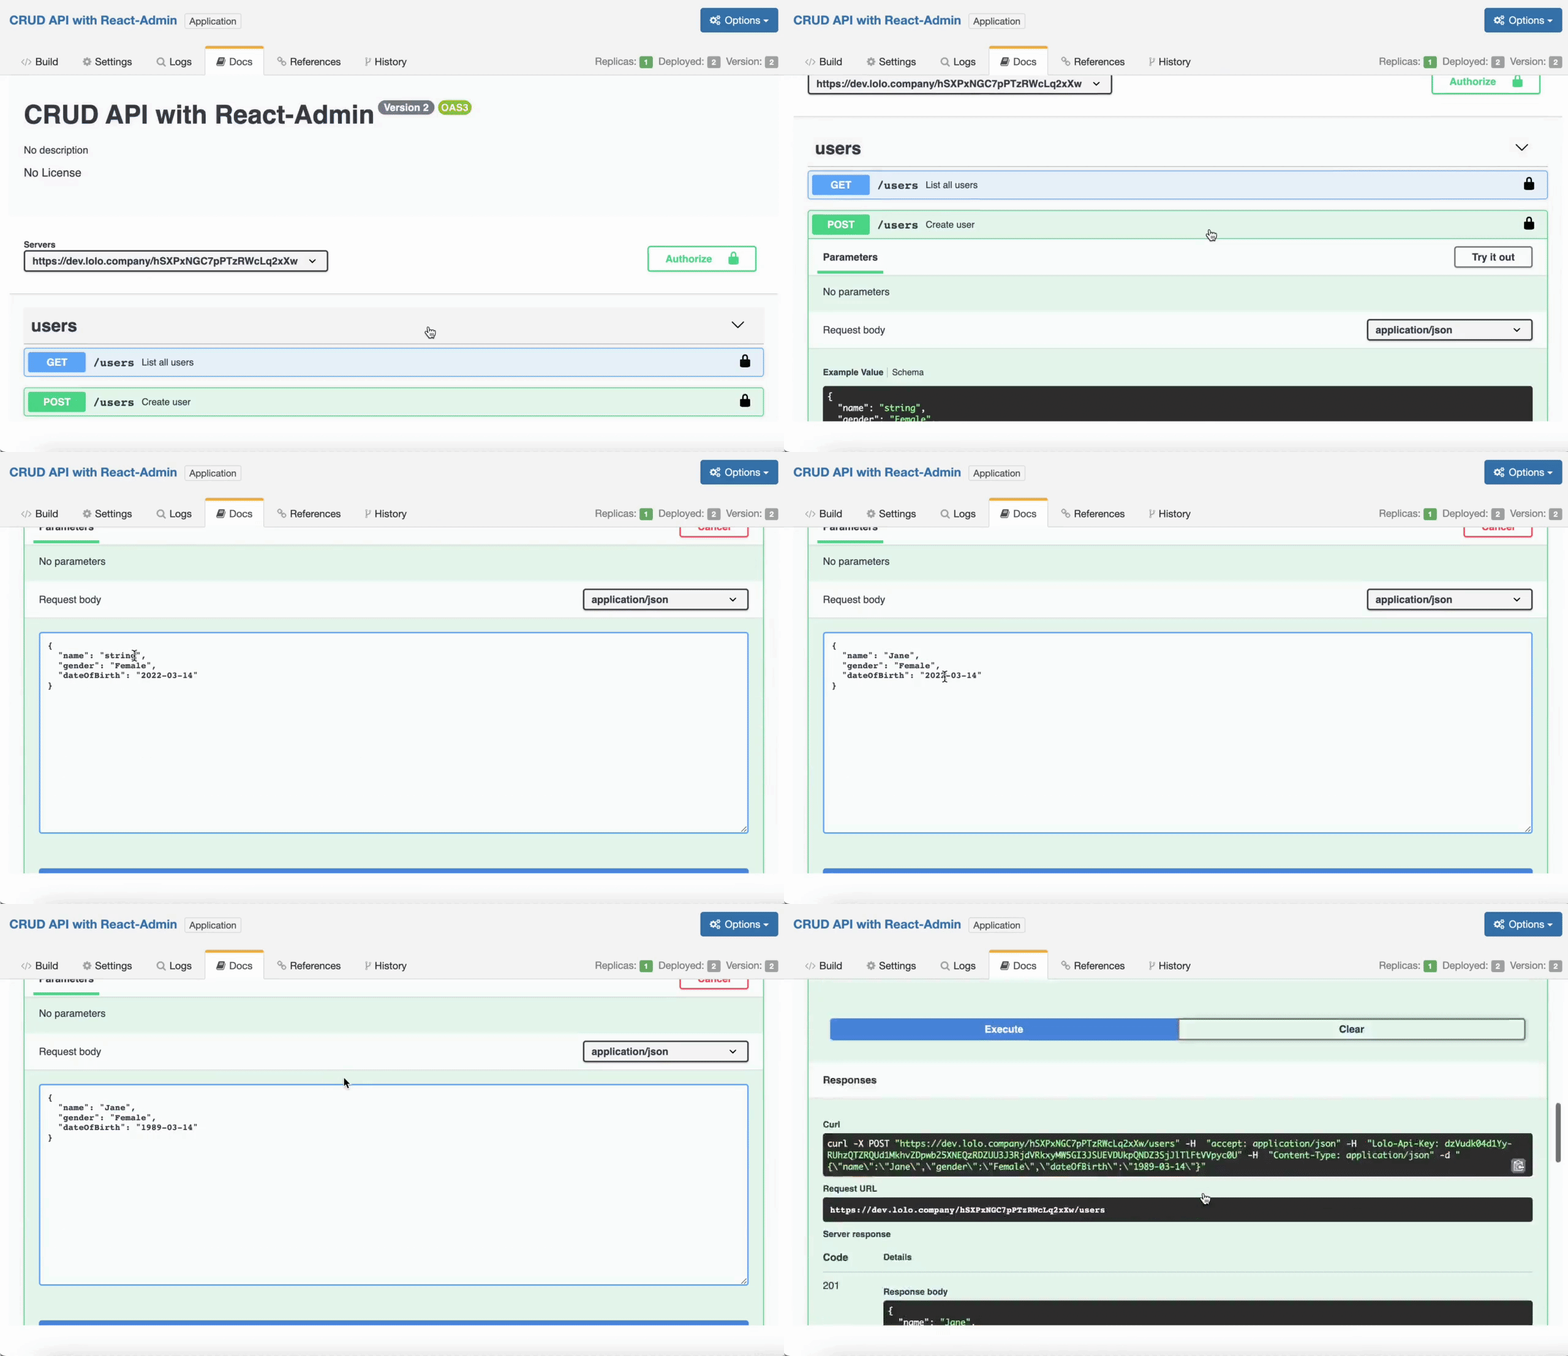
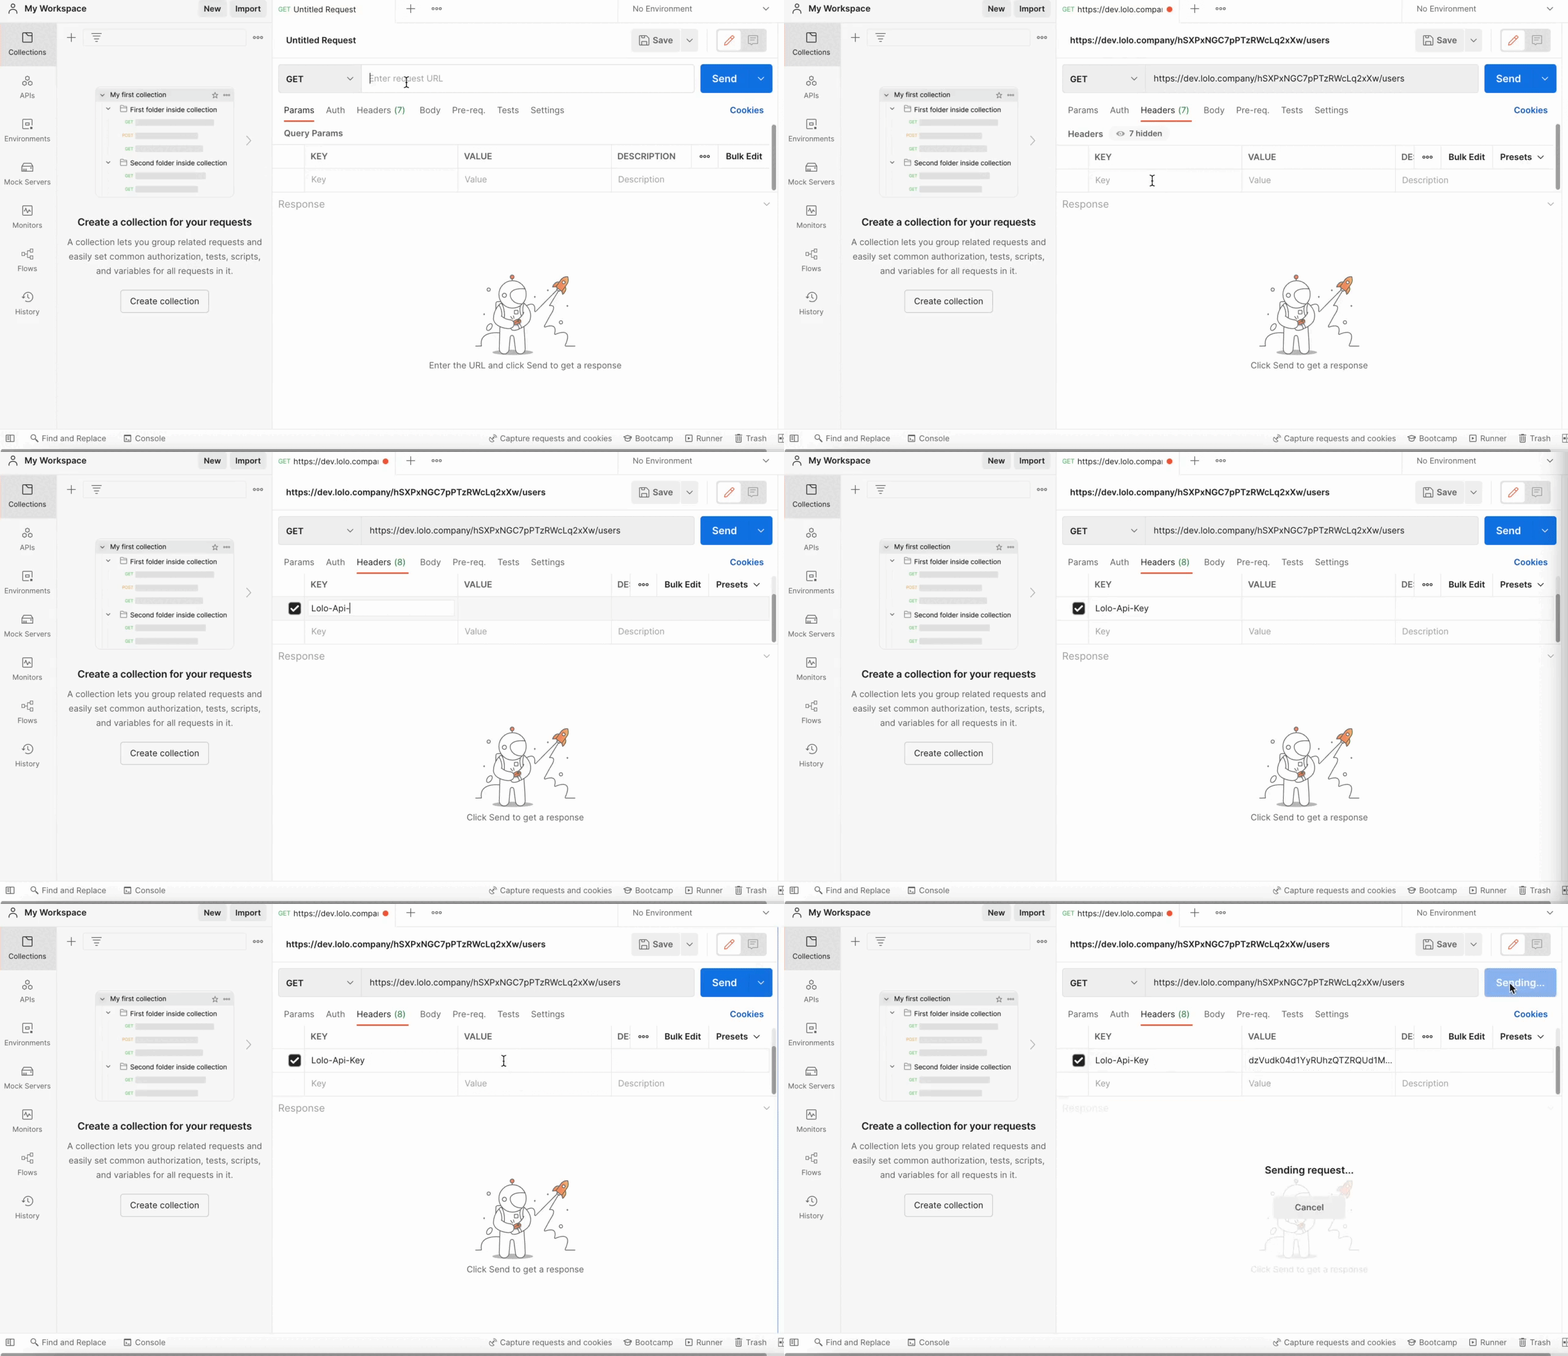
We can also test this one out using Postman. To do so we need to add in Lolo-Api-Key in the header with the same API key we used above.
As you've seen now, we are not connecting this to an external database but using the baked in value store within the CRUD Library Function to store data. You can store up to a few GB of data with state in Lolo but after that you should look at other alternatives. To read more about state you can do so here.
Build a Frontend
To make this into a frontend application we'll connect this API with react-admin-lolo as mentioned at the start of this post. Please navigate to this repository and follow the instructions there.
Complete Video Tutorial
If you want to follow us along when we do this look at the video tutorial below.
Updated about 1 month ago
